Link to Scrimba’s Learn React course
Last year was about diving deeper into JavaScript. This year is about creating JavaScript projects and diving deeper into React. So I’m taking another series of beginner and above React courses.
Why beginner? Any language is very broad. When you take a beginner course, you’ll often learn about new concepts that the course author thinks are important but may not have been covered in other beginner courses you took. You also get in a lot of practice.
This is what I like about Scrimba’s React course. They really focus on repetition, building muscle memory, and spaced learning (learning a concept, then after a bit of time coming back to a concept to improve your recall.) I’m currently on the 16th lesson and I’ve retyped
import React from "react";
import ReactDOM from "react-dom";
and
ReactDOM.render((what I'm rendering), document.getElementById("root"))
multiple times. I can feel my muscle memory growing! 💪 And my ability to remember the smaller bits of syntax is definitely improving.
I’ve taken a Scrimba class before on CSS animation and it seems that their editor experience has improved. The comments they write to guide you remain when you’re writing code. You can save your version of the code. And you can download a zip file of the lesson so you can work on the class code locally. So much nicer!
tl:dr/tips
- When switching back and forth between my saved code and the video, I found it helpful to screenshot my code so I could view it on another screen while watching the challenge being solved.
- The class includes 3 ways to start writing React including using the in-class editor, the React CDN, and Vite.
- It’s easier to add images to your project if you have the editor open in Chrome than in Safari.
- When you write in the Scrimba editor, your code disappears when you restart the video. To save your code so you can view it again, click the 3-line menu in the bottom right corner which brings up a panel with a “Notes” option. Click the green checkmark next to the note listed to save your code. When you want to see your code, click on the note.
- Scrimba has a Discord channel for questions and interacting with your peers. People seemed nice. 🙂
- Figma files are included and there’s a Scrimba video on using Figma
- We use Netlify to deploy projects with drag and drop.
- Export the zip file, extract the contents and rename it
- Open it and a terminal in VS Code
npm installnpm run build- delete the node_modules folder
- To use DevTools on the projects in the editor, click on the browser preview window and then shift + command +c (Mac) shift + control + c (Windows) to open DevTools.
- If the browser preview starts flashing (the flashing is really super annoying) hard refresh any Scrimba windows you have open.
The class is broken into 4 parts. I recognize some of the projects from student portfolios I’ve reviewed. It’s awesome seeing students working on their skills by taking extra classes and creating extra projects. 🙌
Section one
In the first class, the projects are static sites, including one you build entirely from scratch with a Figma file to guide you. Lots of practice creating, importing, and exporting components and writing JSX. If you’re new to React or feel a bit comfortable but wonder how to start a project on your own, this section would be great to take. You do need some comfort with HTML and CSS to create the project on your own though. There isn’t an emphasis on responsive design since you’re basically building a tile, not a site. But you can use whatever CSS works for you.
Section two
The second class introduces how to create dynamic sites. There’s a bit less emphasis on writing your own CSS. And you start learning how to pass prompts. Still a big emphasis on “hands on the keyboard” which I really like. You think you know something until you have to type it from scratch. 🙂
The build-on-your-own project is a travel journal. It’s nice looking and you get to bring in and restructure several props. The URL to the images wasn’t working, so I downloaded them. Hopefully, it wasn’t because I didn’t do something I should have.
A student, Brian, posted his on Discord. He added a border that made the site look like it was on a tablet. (!!!) And another student added a favicon. Need to step up my game!!
Section three
Now we move on to State – the ability to keep track of the current value of a variable inside of a function after user input or an event. Using state allows you to create dynamic, interactive websites. 🙌 The class is based on the useState hook, instead of class components.
Sometimes when you see an update to a language, you wonder if it is really necessary or if you can keep writing the code you know. But useState is so much cleaner than class-based components. I can see why it caught on, even though class-based components are still supported.
One note so far – when the initial value of state is an object, and you update one property of the object, you need to spread in the previous state and then specify the property you’re updating. Otherwise, writing just that one property overwrites state. By spreading in the previous state, you maintain the previous properties and their values and update just what needs to be updated.
Next, we implement useEffect. There are many aspects of our app that React controls like rendering the UI and keeping track of state. There are others that are outside of React’s control and this is why we have the useEffect hook.
A good example is an API call. This is outside of React so we’ll use the useEffect hook to make the call. There are a few things to look out for. Do you want the function within a useEffect to run just once – when the UI first renders? Or do you want it to run on a certain condition? The function and the condition are the two parameters for the useEffect hook.
You’ll also want to consider if there’s a memory leak you need to prevent by cleaning up after, let’s say, an event listener. If the useEffect hook returns something, it needs a cleanup function. We’re also shown how to use async/await for an API call.
Want to have some side-fun? Query ChatGPT to show you an async/await HTTP call in Vanilla JavaScript. Then in React. What a great use of the technology. 🙂
Section four
We’ve learned what there is in the class and it’s time to apply our newfound knowledge. We start with existing code that we’re adding a light/dark mode to. I’m pretty happy that I was able to complete the entire challenge, including reading the existing code, in 7 minutes. 🙌
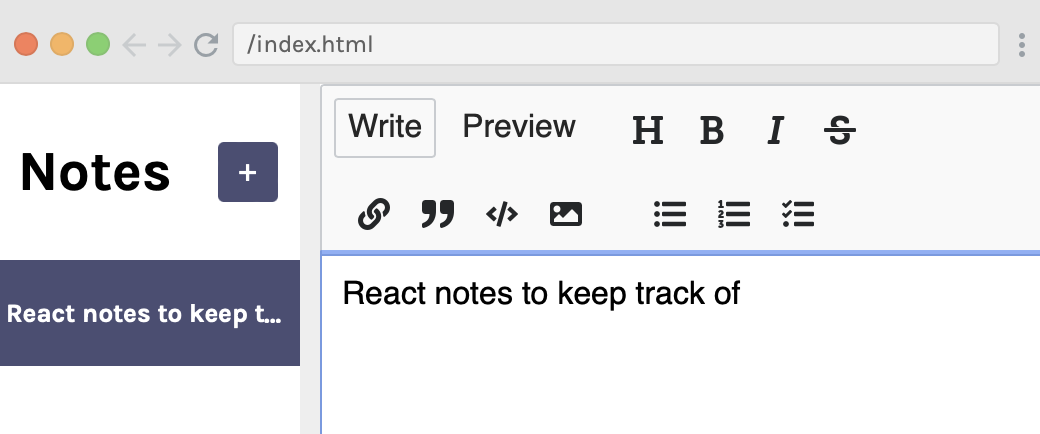
Next we made a Notes app that uses Markdown. The sidebar listed the notes with a summary made up of the note’s first line. And the list re-ordered based on the most recently used notes. I might play with this one a bit more. It used lifecycle methods in a useEffect hook. And I think it would be fun to play with the styling. When I learn more about using a database with React, this will be a fun project to work from.
One change I’ve already made to the solution code was to use a for…of loop instead of what they call a C style for loop. I feel like a for…of loop is more readable.
The Tenzies game is the last project. Part of the code is creating an array of 10 numbers from 1-6. I’ve generated random numbers before but I couldn’t remember how to create an array of them. I’ve used the random number mostly to index into an existing array. Fortunately, people are very generous to write blogs explaining how to do things! I found a great explainer on Dirask. From there, I wrote this (I love logging values! ❤️:
const allNewDice = function() {
    let randomNumberArray = Array.from({ length: 10}, () => Math.floor(Math.random() * 6) + 1)
    console.log(randomNumberArray)
}
allNewDice()
But there are always multiple ways of solving a problem. This is the solution used by Scrimba:
    function allNewDice() {
        const newDice = []
        for (let i = 0; i < 10; i++) {
            newDice.push(Math.ceil(Math.random() * 6))
        }
        return newDice
    }
    console.log(allNewDice())
Before Googling, I started similar to this with an empty array. And I like that they used Math.ceil instead of Math.floor and then a +1 at the end. Why didn’t I call the function in the console.log? 🤦♀️
A couple of things I need to keep track of is writing my hook just after declaring the function. And separating my logic from the render.
After completing the Tenzies game, there’s a bonus project to code a trivia app using Open Trivia Database. You also receive design docs to reference for the css.
Summary
This is a great course! There’s a lot of emphasis on “hands on the keyboard”. If you’re concerned about not knowing React’s syntax, this class will really help. And the projects are nice. I can imagine expanding on the Notes app or the Tenzies game.